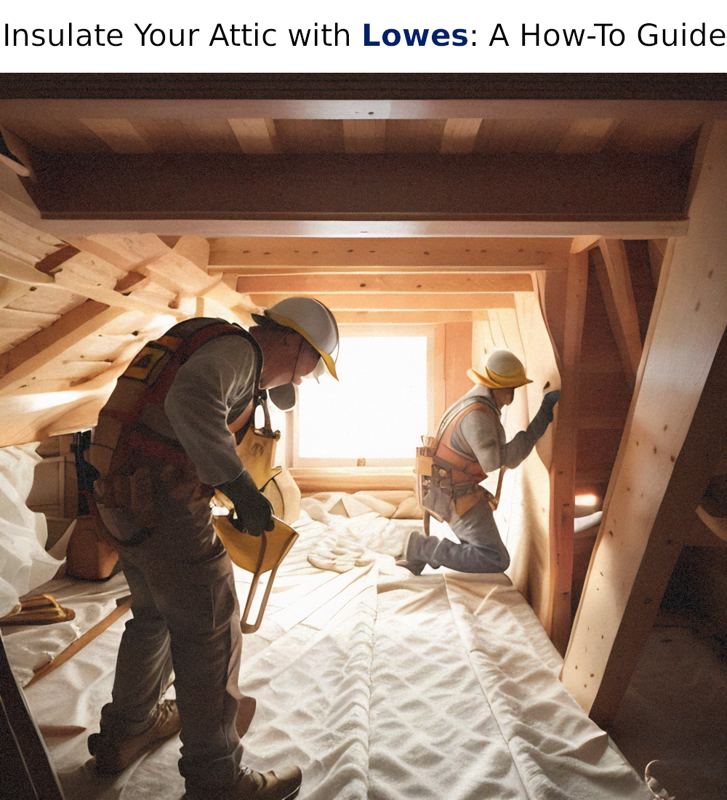
Are you tired of high energy bills and uncomfortable temperatures in your home? One of the most effective ways to improve energy efficiency and comfort is by insulating your attic. In this guide, we’ll show you how to insulate your attic with materials from Lowes, a popular home improvement store.
Why Insulate Your Attic?
Insulating your attic has numerous benefits, including:
- Improved energy efficiency: Insulation helps keep your home warm in the winter and cool in the summer, reducing the need for heating and cooling systems and lowering your energy bills.
- Increased comfort: Insulation helps regulate the temperature in your home, making it more comfortable year-round.
- Reduced noise: Insulation can also help reduce noise from outside, making your home quieter and more peaceful.
- Protection against moisture: Insulation can help prevent moisture from entering your home, which can lead to mold and other issues.
Types of Attic Insulation
There are several types of insulation that can be used in attics, including:
- Fiberglass: This is the most common type of insulation and is made of tiny glass fibers. It comes in batts or rolls and is relatively easy to install.
- Cellulose: This insulation is made of recycled paper and is blown into the attic using a machine. It is a good option for hard-to-reach areas and can be more effective at reducing air leakage.
- Spray foam: This insulation is applied as a liquid and expands to fill gaps and cracks. It is a good option for irregularly shaped attics and can provide a higher R-value (a measure of insulation’s effectiveness) than other types.
How Much Insulation Do You Need?
The amount of insulation you need for your attic depends on several factors, including your climate, the type of insulation, and the R-value you want to achieve. The Department of Energy recommends an R-value of 38 for attics in Houston, TX.
To determine how much insulation you need, you can use Lowes’ insulation calculator, which takes into account your zip code, type of insulation, and desired R-value.
How to Insulate Your Attic with Lowes
Now that you know the benefits of attic insulation and how much you need, let’s dive into the steps for insulating your attic with materials from Lowes.
Step 1: Gather Materials
Before you begin, make sure you have all the necessary materials. For this project, you will need:
- Insulation: Purchase enough insulation to achieve your desired R-value. You can choose from fiberglass, cellulose, or spray foam insulation at Lowes.
- Insulation supports: These are metal rods that hold the insulation in place and prevent it from falling out of the attic hatch.
- Attic hatch insulation: This is a foam board that fits over the attic hatch to prevent air leakage.
- Utility knife: You will need this to cut the insulation to fit in your attic.
- Safety gear: Wear gloves, a dust mask, and safety glasses to protect yourself from fiberglass particles.
Step 2: Prepare the Attic
Before you start installing insulation, you need to prepare your attic. This includes:
- Clearing the attic: Remove any items stored in the attic to make room for the insulation.
- Sealing air leaks: Use caulk or weatherstripping to seal any gaps or cracks in the attic, including around the attic hatch.
- Installing insulation supports: Place the metal rods between the joists in the attic to hold the insulation in place.
Step 3: Install Attic Hatch Insulation
To prevent air leakage, you will need to insulate your attic hatch. Follow these steps:
- Measure the dimensions of your attic hatch.
- Use a utility knife to cut a piece of foam board to fit over the hatch.
- Place the foam board over the hatch and secure it with adhesive or tape.
Step 4: Install Insulation
Now it’s time to install the insulation. Follow these steps:
- Measure the distance between the joists in your attic.
- Use a utility knife to cut the insulation to fit between the joists.
- Place the insulation between the joists, making sure it is snug and not compressed.
- If using fiberglass insulation, make sure the paper side is facing down towards the living space.
- Continue installing insulation until the entire attic is covered.
Step 5: Add a Second Layer (Optional)
If you want to achieve a higher R-value, you can add a second layer of insulation. Follow the same steps as above, but make sure the second layer is perpendicular to the first layer to prevent air pockets.
Tips for Insulating Your Attic
- Wear protective gear: As mentioned earlier, it’s important to wear gloves, a dust mask, and safety glasses when handling insulation to protect yourself from fiberglass particles.
- Don’t compress the insulation: Insulation works by trapping air, so it’s important not to compress it. Make sure the insulation is snug but not squished between the joists.
- Seal air leaks: Insulation is only effective if there are no air leaks in your attic. Before installing insulation, make sure to seal any gaps or cracks.
- Consider hiring a professional: If you’re not comfortable working in your attic or want to ensure the job is done correctly, consider hiring a professional to install the insulation for you.
Conclusion
Insulating your attic is a simple and effective way to improve energy efficiency and comfort in your home. By following these steps and using materials from Lowes, you can easily insulate your attic and start enjoying the benefits. Remember to wear protective gear and seal air leaks for the best results. Happy insulating!


