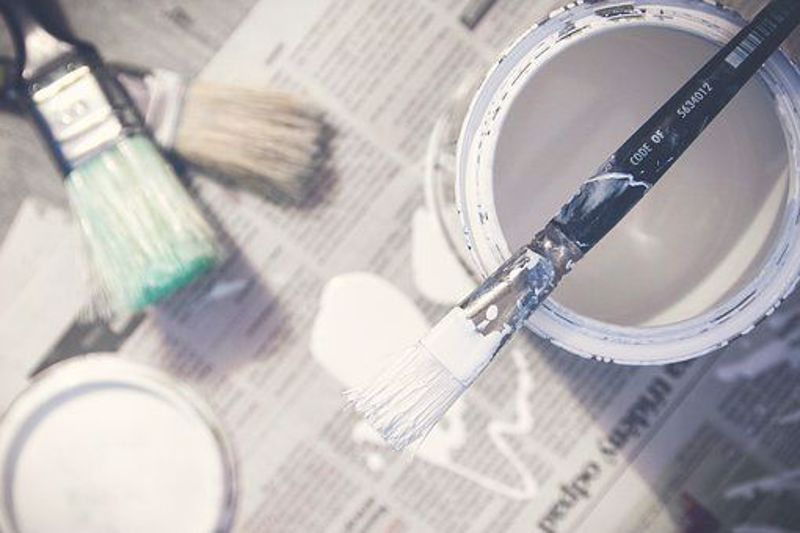
Home Depot has everything you need paint your home. With a Home Depot Money Saving Coupon from We Are Coupons painting your home costs less. The key to a successful paint job lies in proper preparation. Whether you're looking to freshen up a room with a new coat of paint or planning to embark on a full-scale interior painting project, preparing your walls beforehand is crucial for achieving a smooth, long-lasting finish. Proper wall preparation ensures that the paint adheres well, minimizes imperfections, and maximizes the durability and longevity of the paint job. In this article, we will outline the essential steps on how to prepare walls for painting, so you can achieve professional-looking results in your DIY painting projects.
Clean the Walls The first step in preparing walls for painting is to ensure they are clean and free from dust, dirt, grease, and other debris. Start by dusting the walls with a microfiber cloth or using a vacuum cleaner with a brush attachment to remove any loose dirt or cobwebs. For walls that have accumulated grease or grime, use a mild detergent mixed with water and a sponge to clean the surface thoroughly. Be sure to rinse the walls with clean water afterward to remove any residue from the detergent. Allow the walls to dry completely before moving on to the next step.
Repair Wall Imperfections Next, inspect the walls for any imperfections such as cracks, holes, or dents. These can affect the appearance of the paint job and should be repaired before painting. Use a putty knife or spackling compound to fill in any cracks or holes. Smooth out the filler with the putty knife and allow it to dry according to the manufacturer's instructions. Once dry, sand the patched areas with fine-grit sandpaper to achieve a smooth surface. For larger holes or dents, you may need to use a patch or joint compound for a more substantial repair. Again, sand the patched areas until smooth.
Remove Loose Paint and Wallpaper If your walls have peeling or flaking paint, it's crucial to remove it before painting. Use a scraper or a putty knife to scrape away any loose or peeling paint. Sand the edges of the scraped areas to feather them out, so they blend seamlessly with the surrounding surface. If your walls have wallpaper, it's essential to remove it before painting as well. Use a wallpaper stripper or a solution of water and wallpaper remover to soften the adhesive and carefully peel off the wallpaper. Once the walls are free from loose paint and wallpaper, make sure to clean them thoroughly to remove any residue.
Sand the Walls Sanding the walls is an essential step in preparing for painting as it helps to smooth out the surface, remove any remaining loose paint or wallpaper, and promote paint adhesion. Use medium-grit sandpaper or a sanding block to sand the walls lightly. Sand in a circular or back-and-forth motion, being careful not to apply too much pressure that may damage the wall surface. Pay extra attention to areas with rough patches, drips, or uneven textures. After sanding, wipe down the walls with a damp cloth to remove any dust or debris, and allow them to dry completely.
Prime the Walls Priming is a crucial step in wall preparation that should not be overlooked. Priming helps to seal the surface, prevent stains from bleeding through, and provides a uniform base for the paint to adhere to, resulting in a more even and professional finish. Choose a primer that is suitable for your wall surface, whether it's drywall, plaster, or previously painted walls. Apply the primer using a roller or a brush, starting from the top and working your way down, and make sure to cover the entire wall surface. Allow the primer to dry according to the manufacturer's instructions before moving on to the next step.
Protect Surrounding Areas Before you start painting, it's important to protect
the surrounding areas to prevent accidental paint splatters or spills. Cover the floors with drop cloths or plastic sheets and use painter's tape to protect trim, baseboards, and other areas that you don't want to be painted. Make sure the tape is properly applied and pressed firmly to create clean edges and prevent paint from bleeding through.
Choose the Right Paint and Tools Selecting the right paint and tools is crucial for achieving a professional-looking paint job. Choose a high-quality paint that is suitable for your walls, whether it's latex or oil-based, and select the appropriate finish for your desired look and room usage. Flat or matte finishes are ideal for ceilings or low-traffic areas, while satin, eggshell, or semi-gloss finishes are more durable and suitable for walls in higher-traffic areas or areas prone to moisture or stains.


