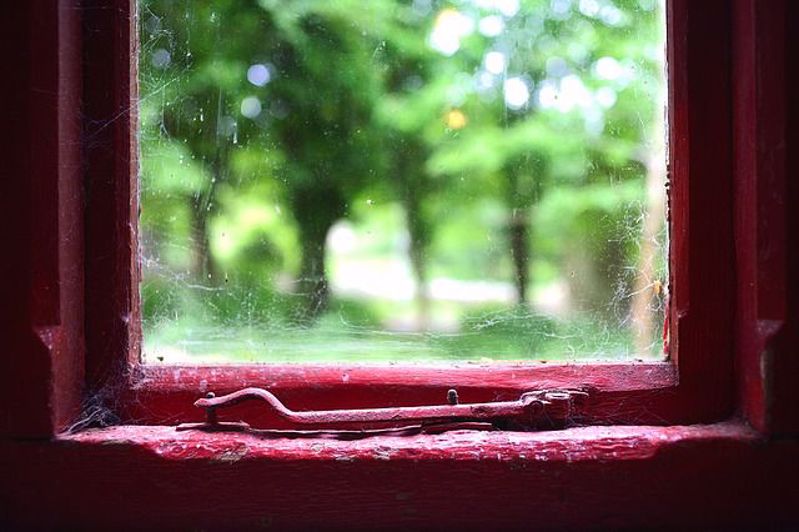
A few we explained how to paint a door, one of those common DIY tasks that seem easy enough but there happens to be a right way and a wrong way to do it. Of course, Lowes had all the tools and materials you needed to paint the door and those who painted them hopefully used a Lowes Printable Coupon from We Are Coupons and saved money on the job. All the same is true for painting and varnishing you window frames, only, unlike doors, you cannot always remove these. But painting a window frame is not that difficult, so here goes.
You will need
A quick trip to your nearest Lowes will equip you with everything you need.
- A few small paint brushes
- Paint (water-based paints are best for timber and have a quicker drying time than solvent-based paint)
- Toothbrush
- Sandpaper
- Small plastic pot
- Scraper
- Masking tape
- Cloth and water
- Screwdriver/drill
Step 1: Clean the Window Frame
You will need to give the window frame a really good clean. You can use dishwashing detergent or for a really good clean use Sugar Soap. Make sure the windows are totally clean.
Step 2: Sand the Frame
Over time window frames build up rough patches and edges and these need sanding down before painting. Sanding also allows the paint to bond better with the frame and ensure the paint or varnish job lasts longer
Step 3: Remove the dust
Blow away or vacuum any dust from your sanding from the window frame. It is only too easy to paint over any dust leaving your window frames looking dreadful. TOP TIP: Use the toothbrush to get into the tight corners
Step 4: Remove the hardware
Remove the window handles and any other hardware that can be removed. This is another simple step that many overlook. Keep the handles and screws in a safe place, away from dripping paint so you can reassemble that easily later.
Step 5: Mask the area that you don’t want painted
Everyone has seen windows painted in a hurry with paint on the glass. Carefully masking off the glass enables you to paint faster and paint better. This simple step really is a time saver and you won’t regret it.
Step 6: Undercoat
Many paints call themselves an all in one paint that includes undercoat. Even with these paints a coat of undercoat makes a massive difference in the long run and the paint lasts longer. With varnishing you don’t need this step.
Step 7: First Coat
Once the undercoat is dry you can apply your first coat. Paint slowly and methodically with a small brush with thin layer of paint not thick lumps. Don’t rush this process. Allow the coat to dry fully.
Step 8: Apply a top coat
Again, gently and slowly paint on the top coat. Take your time and paint evenly with fluid strokes. The more time and patience you have with this step the better the finish will be. Allow to dry.
Step 9: Re-attach the hardware
Finally you can re-attach the hardware you removed early and the job is done.


