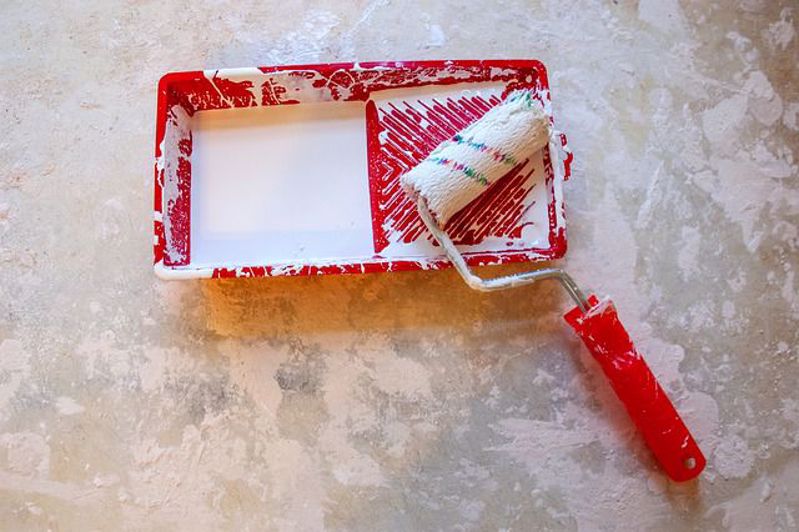
Painting is one of the easiest DIY jobs out there but painting and painting properly are two completely different things. Of course, Lowes has all you need to paint any surface in any room and with a Lowes Money Off Coupon from We Are Coupons, shopping at Lowes for all your DIY projects makes absolute sense. One painting job that looks dead simple is that of painting a ceiling and yet it is a painting job a lot of people simply make a mess with. So, here is how to paint a ceiling
You will need:
- Old sheets or dust sheets
- Sugar soap
- Masking tape
- Ladder
- Brush
- Roller see our pick of the best rollers if you can't choose
- Tray
- Extension pole
- Ceiling paint
- Safety glasses
Step 1: Protect the floors and the furniture
This perhaps the most obvious part of painting a ceiling but you would be amazed how many people forget this part and just dive in. Cover the floor and furniture with dust sheets or old bedding sheets. Better still remove furniture from the room if you can. Only once this has been done should the job of painting even begin!
Step 2: Safety First
This is not really a step but as precaution. It makes sense to use a ladder if your ceilings are particularly high or you don’t have a long-handled roller to use. Make sure your ladder stands firm and is safe, and extra person makes all the difference. Also, because you are looking up for most of the time you should wear protective eyewear.
Step 3: Mask the things you want to avoid
Mask the coving where it meets the wall and mask light fittings or better still remove them and simply mask any loose wires.
Step 4: Fill your roller tray
The best way to make a mess everywhere is to try and paint straight out of the paint can. Use a roller tray but don’t overfill it as it will become difficult to move around with.
Step 5: Paint the coving
Firs things first is to paint the coving not leaving it to last as a lot of people do. Paint with a brush not a roller as it will leave a better finish. TOP TIP: Remove the masking tape before the paint dries and wait 2 to 3 hours before painting the ceiling
Step 6: Cut in
You always start painting a large surface by cutting in from the edges with a brush as this leaves a neater finish and actually saves time in the long run.
Step 7: Apply the first coat
Using a roller paint the ceiling in small, easy to reach patches in front, behind and either side of you, before moving on. Don’t over stretch, this will not only tire you but also form patches where the paint is thinner. Allow the paint to dry, ideally overnight.
Step 8: Apply the second coat
Using the same technique as the first coat apply the second coat for a professional finish that will amaze you, and the job is done.


